Fragmentation
"Fragmentation" is a term used by marquetarians to describe the use of tiny veneer particles to represent mottled surfaces, foliage and similar textures. Brian Freeman describes his methods for this technique.
The key to successful fragmentation is, just as with all marquetry, veneer selection. Even though the individual particles used are tiny, their relative tones and colours are important to the final appearance. In addition, their texture affects how easy they are to cut into the tiny pieces required - the more brittle veneers being much easier.
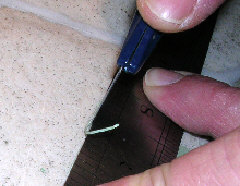
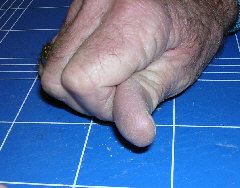
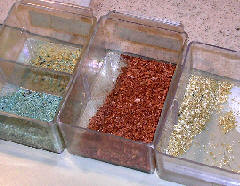
The first step is to cut very thin strips, thinner than the thickness of a veneer. I cut across the grain using a straight edge and a heavy blade that allows plenty of pressure. Don't use your best cutting board for this process as it soon becomes heavily scored.
Many of the thin strips start to break up during cutting, but to produce the fine pieces needed 'grind' the pieces between thumb and forefinger, using the action of the pieces on each other to break them into smaller and smaller fragments.
So that I always have a selection of colours readily available, I keep several small boxes and regularly top them up with fragments cut from waste scraps of veneer.
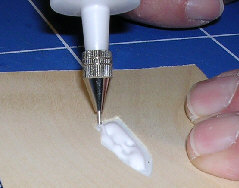
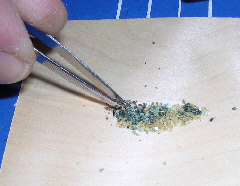
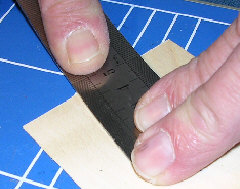
I work directly in the picture, from the face side (front). I cut a window, just as in regular marquetry, for a small area to be filled. Larger areas are built up from several small sections made individually, each section about a 'fingerprint' size. Having cut the window, I seal the back with a piece of masking tape, and then add a second piece of tape to add strength.
Next I fill the resulting 'well' with PVA glue until the glue surface is roughly level with the top of the veneer.
Pile various shades of particles onto the glue in discrete areas or bands - I use tweezers for this step. The pile should end up quite proud of the picture surface.
(It is this placement of the colours that typifies Brian's method and makes his pictures so characteristic - ed)
Carefully place a steel rule down onto the pile and press straight down whilst flexing the rule to add pressure and turning it to force the particles down into the glue and against each other. When you lift the rule, coax stray particles back into the mix and repeat the pressing a couple of times.
Leave the area flat for the glue to set. I often work in several areas of the picture at once so that one area is drying whilst I work elsewhere. When sufficiently set - possibly only 10-15 minutes - remove the tape.
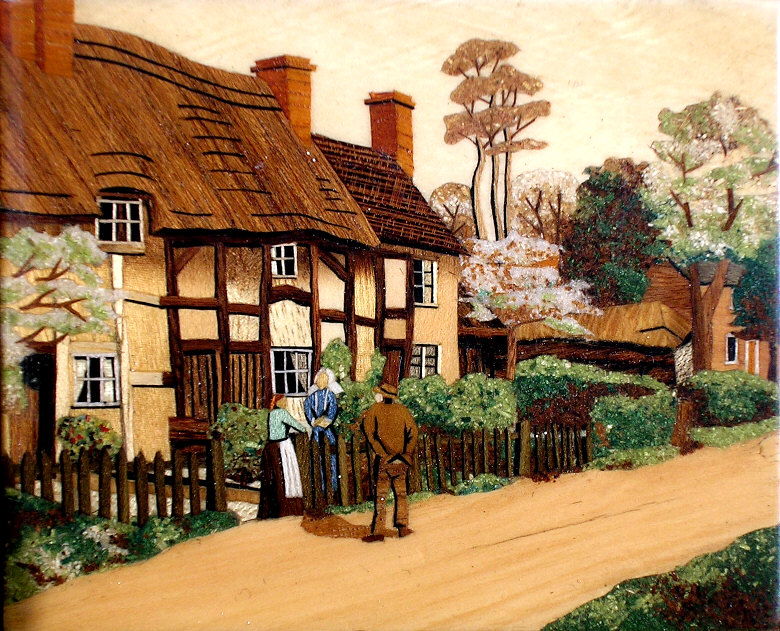
Larger areas of fragmentation are built up in stages, with each new area being slightly cut into the previous one, giving the effect of different branches of trees or bushes.
No special technique is required for finishing the picture - I sand my pictures down using increasingly fine grades of abrasive paper wrapped round a hard, flat, block. If you are a fan of scraping pictures, take special care as some areas of fragmentation may be prone to tear out.
Here are some other tips for successful fragmentation:
- Use some of the background veneer in the particle mix if you want to achieve a 'lacy' effect - such as a sparsely leafed tree
- Add very fine sawdust to the mix if you want a 'denser' look for more solid areas
- Brian's steel rule has a curve bent into it, and when pressing he starts with the centre bowed upwards. He feels this give a more even pressure over the whole of the fragmentation window.

